This post comes from our friend Bri. Follow her on Instagram @chickenchaserbr to follow her chicken keeping journey.
The Struggle with Rats
If you’ve kept chickens for any length of time, you may already know that rats love to tag along. They’re sneaky, drawn by the warmth of the coop and an endless supply of chicken feed. Often, they stay hidden, leaving behind only subtle clues: empty feeders that shouldn’t be empty, droppings that clearly don’t belong to the chickens, or small nests tucked around the coop.
When rats move in, they settle quickly, especially if there’s a steady food source and no predators to worry about. We learned this the hard way when we purchased our 2.5-acre farm. The previous owners had moved on nearly a year before, leaving behind an empty chicken coop filled with straw—an ideal hideaway for rats. By the time we moved our own chickens onto the property, the rats were already making themselves at home.
At first, I couldn’t believe it. Our chicken feeders, which typically lasted a week, were empty in less than a day. I tried scattering feed on the ground morning and evening, but it didn’t take long before the rats grew bolder. What started as the occasional sighting quickly turned into a full-blown invasion, with up to 20 rats comfortably dining alongside our chickens every day.
Clearly, it was time for a solution! We opted for barn cats, a fantastic line of defense against the rats. But if you don’t have cats (or just want a foolproof backup), a rat-proof feeder can be a game changer. And if you’re up for it, why not go for both? Today, I’ll walk you through how to build a feeder that keeps the rats at bay, no matter how determined they are.

Supplies You’ll Need to Build a Chicken Feeder

Here’s a list of everything you’ll need to make your own efficient and simple chicken feeder:
- Food-Grade Bucket with Lid
-
Use a 2.5-gallon or 5-gallon food-grade bucket, depending on your flock size.
- Tip: A full-grown hen eats about 1.5 lbs of feed per week.
- A 5-gallon bucket holds ~30 lbs of feed.
-
A 2-gallon bucket holds ~12 lbs of feed.
- Example: For a flock of 8 chickens, one 2-gallon bucket feeder will hold enough feed to last one week.
-
Eyebolt
- A 3 or 4 inch eyebolt works best. You’ll use this to attach the block of wood.
-
Block of Wood
- A small block of wood attached to the eyebolt will be the feeding mechanism for the chickens. Pre-drill a pilot hole to make attaching it easier.
-
Drill and Drill Bits
- For creating the hole in the bucket, use the bit size recommended on the eyebolt packaging.
-
Shepherd’s Hook (Optional)
-
If you don’t have a fixed mount for your feeder, a shepherd’s hook is an easy solution. Choose one that can hold:
- ~12 lbs for a 2-gallon bucket
- ~30 lbs for a 5-gallon bucket
-
Rope or Pulley System (Optional)
- Use rope or string to hang the feeder. Adding a pulley makes it easier to adjust the height, which is especially helpful if you’re integrating younger or smaller chickens into your flock.
Putting the Pieces Together: Assembling the Feeder

Step 1: Drill the Hole
-
Flip your bucket upside down and drill a hole through the center.
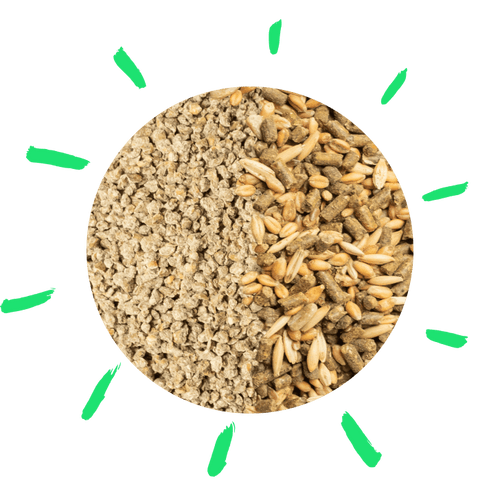
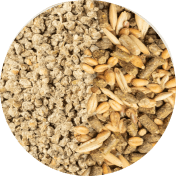
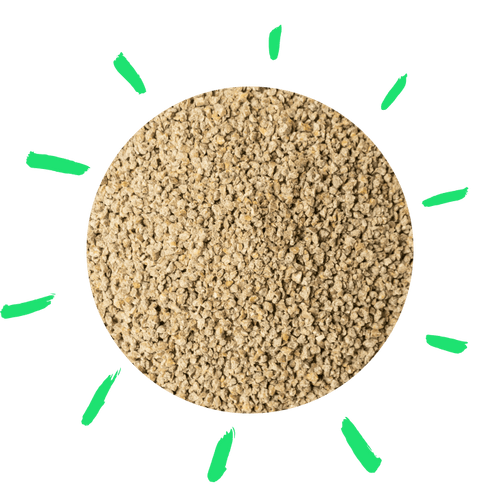
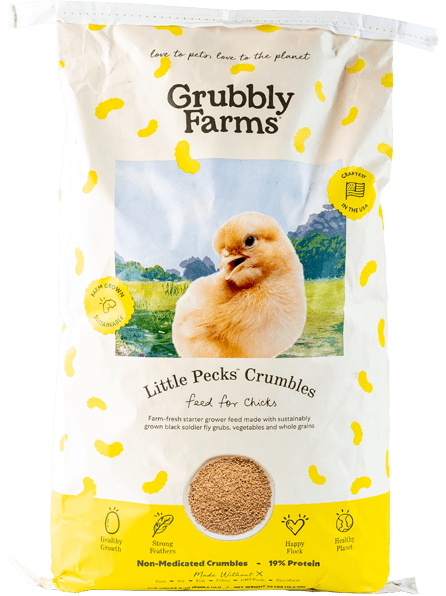
- For crumbles (e.g., Grubbly Farms Layer Crumbles): Drill straight in and leave the hole as is.
- For pellets (e.g., Grubbly Farms Layer Pellets): Drill straight in, then slowly widen the hole by moving the drill around until it’s about the size of a nickel.
Step 2: Add the Eyebolt
- Insert the eyebolt into the bucket with the circular head on the inside and the screw end on the outside.
Step 3: Secure the Block of Wood
- Screw a block of wood onto the eyebolt until it fully covers the threads.
- For an easier fit, drill a pilot hole into the block of wood before attaching it.
Step 4: Add the Lid
- Pop the lid on, and your feeder is complete—it’s really that simple!
Mounting Your Feeder
If you don’t have a fixed mount, here’s a simple solution:
Shepherd’s Hook Method:
- Purchase a sturdy shepherd’s hook that can hold your bucket's weight (approximately 12 lbs for a 2-gallon bucket or 30 lbs for a 5-gallon bucket).
- Select a spot sheltered from the elements, and secure the hook firmly into the ground.
Pulley Option (Optional):
- Use rope or string to hang your feeder. A pulley can help adjust the height, which is especially useful if you have younger or smaller chickens joining the flock.
By following these steps, you’ll have a functional and efficient feeder that works for chickens of all sizes!


Share your DIY feeders with us on Social Media and tag @grubblyfarms so we can see your handy work!
Thank you so much for reading! I’m Bri, just a city girl who decided to get a few backyard chickens in 2021, and, well, the chicken math hasn’t stopped mathing since! I am now up to 17 chickens and 2.5 acres of farmland. You can follow my adventures, tips, and plenty of laughs on Instagram: @chickenchaserbri. Happy clucking! 🐔