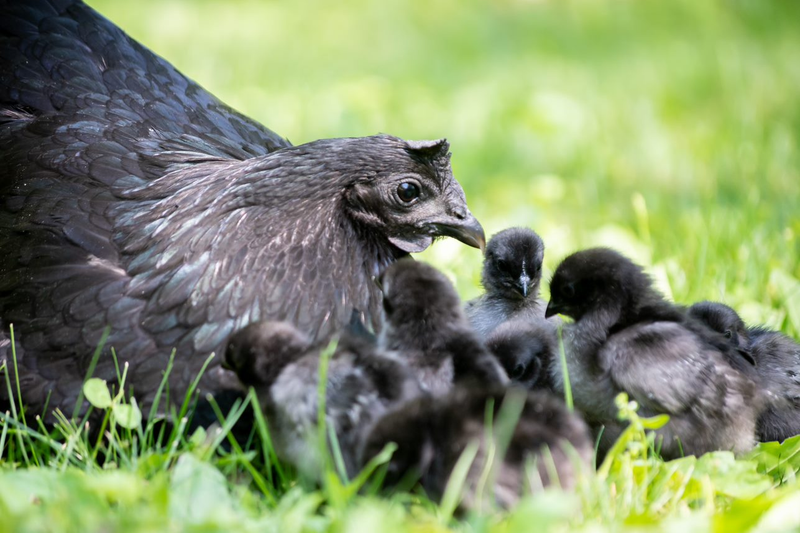
Ready for a crash course on how to raise chicks? You came to the right place! We're going to cover everything you need to know about raising your first brood of chicks. This includes how to prep the brooder, how to feed and water your new babies, how to monitor and adjust supplemental heat, how to spot health issues, and what their daily care requires. Raising baby chicks is work, but it’s also fun and immensely rewarding. Let’s get started!
#1. Prepping the Brooder
The brooder is what your chicks will live in for at least the first 4-5 weeks of their life. Whether you are picking chicks up from the local feed store, are mail ordering your chicks, or have chicks hatching from incubated eggs, the first priority before getting your chicks should be having the brooder all properly set up. The brooder should be a safe haven for your chicks that is predator proof and has a food source, water source, heat source, and soft, cushy litter.
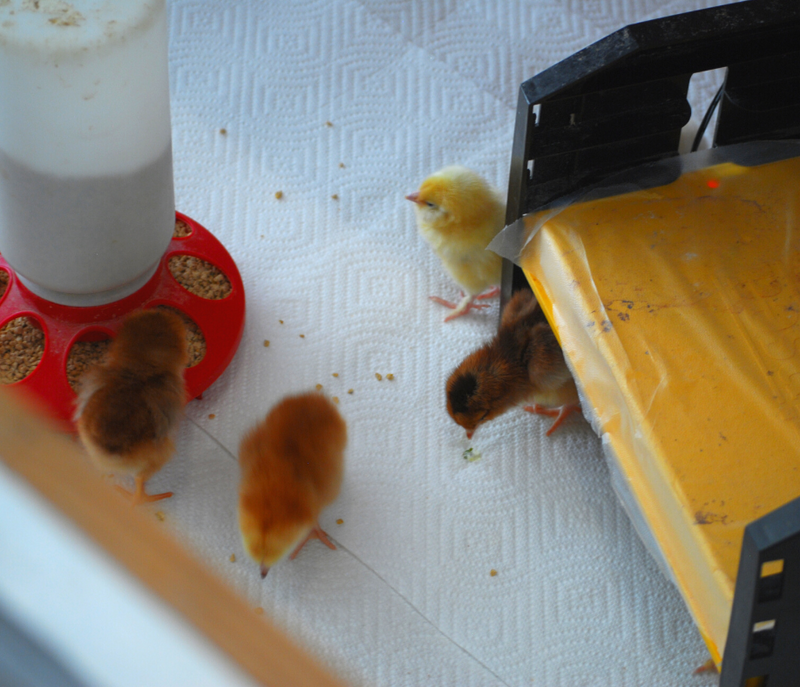
You’ll want to place their food and water close to the heat source when you acquaint the chicks with their new home. After that, the brooder should have a section with the supplemental heat source and a section with the food and water. For supplemental heat, you have two options: a heat lamp or a radiant heater. While either one will work, radiant heaters are the safest, healthiest, and most natural option for brooding baby chicks.

To prep the brooder before getting your chicks, follow these three simple steps:
- Lay down a soft, cushy layer of paper towels for litter.
- Fill the feeder and waterer.
- Turn the heat source on.
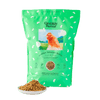
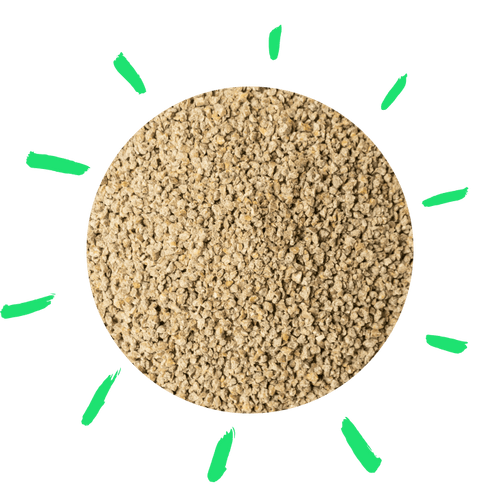
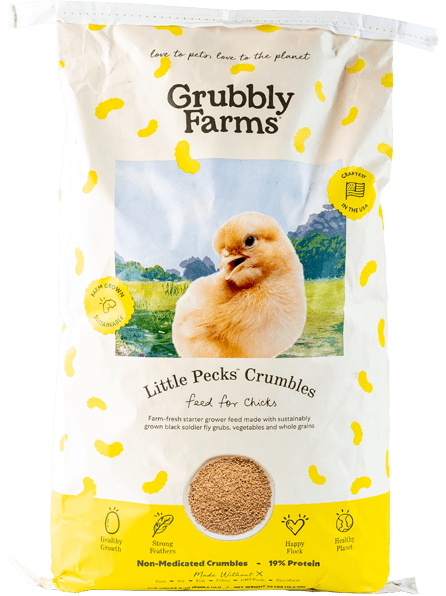
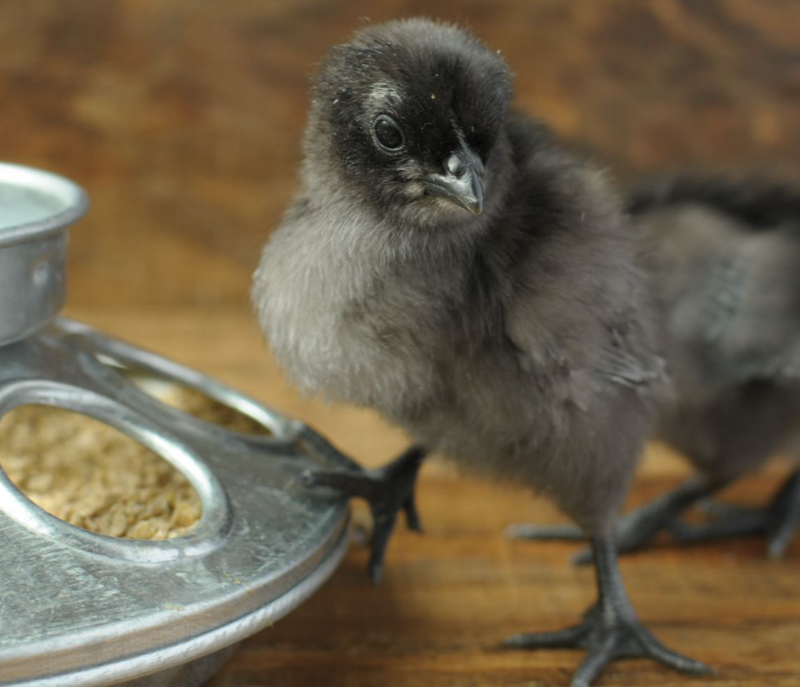
Chicks should be fed a complete starter chick feed, like Grubbly Little Pecks Feed for chicks (0-20 weeks). A chick starter feed contains all the nutrition that chicks need to develop properly and grow into strong, healthy adults. Chick starter is higher in protein and crushed into smaller pieces than a layer feed, so it is easier for chicks to eat. While a lot of chick feeds can contain fillers, binders, or protein substitutes, Grubbly's Starter Grower Feed features ingredients that chicks would naturally find in the wild. It nourishes chicks the way nature intended with a healthy mix of black soldier fly grubs and plants.
New chicks also need supplements added to their water during the first few days they’re home. Two options are either adding some probiotics to the water or adding a holistic supplement like apple cider vinegar or an herbal tonic to the water. Any of these options will give the chicks’ immune systems and digestive systems a good jump on fighting off disease and functioning properly. After the first 2-3 days, you can switch out the supplemented water for fresh, pure water. Make sure the water is at brooder temperature before showing your chicks where to get their first drink.
#2. Introducing Food, Water, & Heat
Once the brooder is prepped, it’s time to introduce the chicks to their new home! First, introduce the baby chicks to their water and food. Teaching your new chicks were to find sustenance is essential for them to thrive in their new home. Mama hen would naturally show her chicks were to find food and water, so you should do the same with your brood! The chicks don’t instinctively know to go looking for food and water until you show them where to find those resources. Try to encourage your chicks to get a drink of water before they do anything else. This will help prevent pasty butt (more on that later) and ensure the chicks stay hydrated. Gently guide the chicks near the water source and then gently dip each of their beaks into the water (or tap their beak gently against a poultry nipple if using a nipple water system). Typically, once one chick recognizes where to find water, the rest will catch on quickly (flock affect ya’ know!).

Chicks who have been mail ordered or who are only a day or two old will require one additional step before being placed in the brooder. Mix up some sugar water using warm water and honey (about 2 tsp. of honey for 1 cup of water) and gently dip each chick’s beak into the sugar water to let them get a sip. The sugar water gives the chick’s digestive system a quick boost and provides important calories for the chick to use while it learns where to find food in the brooder. Once the chick has got a sip of sugar water, place the chick in the brooder.
After everyone has gotten a drink of water, show them where to find food. Sprinkle some of the chick starter around the feeder and pretend to be pecking at the pieces. The chicks’ curiosity will get the best of them and they will inevitably check out what all the fuss is about. Once the chicks are enthusiastically pecking at the food that is on the ground, show them where to find more food in the feeder. You can do this by tapping your finger in their feeder and guiding them near the food source. If they see you enthusiastically ‘eating’ the food, then they will be encouraged to explore the food source themselves too.
Now that the food source and water sources are established, direct your chicks to their heat source. If using a heat lamp, gently guide the chicks to the side of the brooder where the heat lamp is located and where there is more direct heat. If using a radiant heater, gently encourage your chicks to go under the heater. Once the chicks figure out where to get warm, they may not be very active for a few minutes as they get warmed up after drinking and eating. Don’t worry, they will soon get comfortable and start exploring their new home- just be patient!
Monitor the chicks closely for the first few hours. Ensure that they are all eating and drinking and moving to and from the heat source freely.
#3. Setting Up Your Heat Source
Even after introducing your chicks to the heat source, you’ll need to continue monitoring their relationship to the available heat. A baby chick cannot control its own body temperature for the first few days of its life. Its fine downy feathers are also not insulating enough to help maintain a constant body temperature. Thus, supplemental heat is a necessary element of a baby chick’s environment for the first few weeks of its life.
The degree to which a baby chick needs supplemental heat will be affected by several factors, including the brooder location, type of heat source you are using, and the age of the chick.
Ideally, have the brooder located in an area that stays at least 55-60°F. The external temperature will affect how often and to what degree you must adjust the supplemental heat. This will help the brooder stay warm enough so that the chicks will freely move from the heated section of their brooder to get food and water.
If using a heat lamp, have one side of the brooder be the ‘heated’ side that stays about 95°F for the first week of brooding. The chicks can then go to and from the heated section of the brooder as they wish. As a guideline, you want the heated section of the brooder to be about 95°F at floor level. To achieve this, have the heat lamp raised about 18 inches off the floor of the brooder. Adjust the height of the heat lamp as needed to achieve a proper temperature.
After the first few days, you can raise the heat lamp about 3 inches every week to wean the chicks off supplemental heat. Always monitor the behaviors of the chicks to gauge their heat needs. If they are too cold, lower the heat lamp. If they are too hot, raise the heat lamp. As the chicks grow in their juvenile feathers, the temperature in the brooder will need to be gradually decreased. The general recommendation is to decrease the brooder temperature by 5°F each week until the brooder temperature is the same as the external environment temperature or the chicks are fully feathered.
If using a radiant heater, ensure that the temperature within the brooder stays above 55°F to encourage the chicks to move freely to and from the radiant heater. Radiant heaters are a lot easier to adjust, however, more care needs to be taken to ensure the brooder temperature stays at moderate levels. If the brooder temperature gets too cold, the chicks won’t leave the radiant heater to get food and water. If that’s the case, then you will have to move the brooder to a warmer location. You can also supply some supplemental heat with a heat lamp if necessary, however, you then must wean the chicks off the heat lamp so that they go back to relying on the radiant heater rather than the heat from the heat lamp.
Ideally, you want the radiant heater to be the only source of heat in the brooder so that it is easier for the chicks to control their own heat needs. As the chicks grow, you will need to raise the radiant heater up so that the chicks can fit underneath. Once the chicks grow in their juvenile feathers, you will notice that they will no longer use the radiant heater.
The point at which your young birds no longer need supplemental heat will depend on the environmental temperatures and how fast the chicks develop. In general, chicks no longer need supplemental heat once they are fully feathered. Often, if the external environment temperatures are warm, the chicks can be weaned off heat before they are fully feathered. However, if the environmental temperatures are cold, then the young birds may need supplemental heat for longer, even if they are fully feathered. In general, chicks need supplemental heat for at least the first 4-5 weeks of their life. Monitor their behavior, feather development, and external temperatures to make wise decisions when weaning your chicks off supplemental heat.
#4. Troubleshooting Heating Issues
There are several ways you can tell if your chicks are having their heat needs properly met. While the temperatures mentioned above can be used as averages and guidelines, you should primarily monitor your chicks’ heat needs based off their behavior.
Keep an eye out for the following chick behaviors:
- Huddled under the heat source, cheeping loudly- the chicks are too cold, so the heat source needs to be moved closer to them or the brooder needs to be moved to a warmer location.
- Spread out away from the heat source, panting- the chicks are too hot, the heat source needs to be moved further away.
- Evenly spread out in the brooder, normal activity levels- the heat levels are just right in the brooder.
- Huddled in a corner, cheeping loudly- the chicks are being chilled by a draft, which is often located opposite the side where the chicks are huddled.
- Excessive pasty butt problems- the chicks are either too hot or too cold, watch for other behaviors to pinpoint the cause.

#5. Daily Care & Cleaning
Chicks need daily care, ideally twice a day. A clean brooder is essential to raising healthy chicks, and daily cleaning is mandatory to keep disease causing organisms from taking up residence. The good news is that daily chick care is really quite simple! Here is a short routine that you can follow for morning and evening chick care:
- Clean up droppings and remove soiled litter.
- Fill feeder as needed.
- Refresh water at least once a day.
- Heighten feeder, waterer, and heat source as necessary.
Ideally, you should do a brooder clean up in both the morning and the evening. Chicks eat and poop a lot! While the chicks are still on paper towel litter, you can simply change out the old, soiled paper towel for fresh paper towel. Once you switch to large flake wood shavings, all you have to do is give the wood shavings a stir in the morning and evening to incorporate in any droppings. The wood shavings will absorb any moisture from the droppings, creating a cleaner environment.
However, the wood shavings can only handle so much moisture, so a thorough brooder cleaning will need to be done at least once a week. This means you remove all of the old, soiled wood shavings and replace them with a fresh layer of clean wood shavings.
For food and water refills, you will need to do those as often as necessary, although, you should be refreshing the water with fresh, room temperature water at least once a day. Make sure the feeder and waterer can hold enough to last your chicks at least a day and half. Also, ensure that all the chicks can access the food and water at the same time and make sure the feeder and waterer are kept at the right height for the growing chicks. The feeder and waterer should be kept at about back level to the chicks, so as they grow, the feeder and waterer will need to be raised too.
For the heat source, remember the guidelines for adjusting the supplemental heat source. Help the chicks wean off of supplemental heat by raising the heat source as they grow and develop their juvenile feathers.
#6. Switching Litters
Switching litter can be a little tricky when you have a brooder full of chicks! Young chicks should be started off on paper towels for the first 4-5 days of their life. After that, keeping up with droppings and clean litter would be challenging if you continued using paper towels. So instead, you should switch to a more absorbent litter that doesn’t have to be changed out every day. Large flake wood shavings make an ideal litter for brooding young chicks on. To make the switch, you will want to move the chicks to a safe area outside of the brooder. A cardboard box with paper towel laid down and the heat source included in it is a good temporary holding place for the chicks as you switch out their brooder litter.
Remove the feeder and water and clean up all of the paper towel litter. Put down a layer of wood shavings that is at least 4 inches thick. If the feeder and waterer are not a hanging system, you will probably need to use blocks to raise the feeder and waterer up to the proper level so that they don’t tip over or get filled with wood shavings. Once the brooder is set up again, you can move the chicks and their heat source back into the brooder.
The switch from a smooth, soft paper towel litter to a textured, bumpy wood shaving litter is a big change for your chicks, so it’s a good idea to monitor them for a few minutes after making the switch. They may be a little jumpy at first as they get used to the textured surface. Then they might take turns running around with wood shaving pieces in their beaks as they explore the novelty of their new litter. Just make sure your chicks don’t eat the wood shavings! By using large flake shavings, you can prevent them from wanting to consume the new litter. Soon the chicks will get accustomed to their new litter and it will just become part of their environment.
You will need to do a total clean out of the wood shavings at least once a week. You can do the same system where you remove the chicks for the cleaning, or you can leave the chicks in the brooder and carefully replace the litter with them still in the brooder, whatever method works best for you and your chicks.
#7. Signs of a Sick Chick
A lot of times raising chicks can be intimidating because they are so small and it seems like there are endless things that could go wrong or ail your new babies. By keeping a clean and dry brooder, providing the proper diet, properly monitoring heat needs, and adding some simple supplements to your chicks’ water, you can prevent quite a few ailments from becoming an issue. However, when things do go wrong, you should be able to recognize them as soon as possible.
Here are some signs and symptoms of a sick chick:
- Poop stuck to the vent (butt)
- Lack of interest in interacting with the other chicks
- Lethargy and inactivity
- Prolonged time under the heat source
- Unwilling to eat or drink
One of the most common ailments you will encounter with baby chicks is pasty butt. Anything that causes stress to baby chicks will give them pasty butt. Pasty butt is when poop sticks to the vent opening and prevents the chick from expelling waste properly. This can be fatal if the blockage is not taken care of. To treat pasty butt, you will want to gently soak or rinse the poop blockage in warm water and then gently rub it off. The important part about treating pasty butt is making sure the chick does not get too chilled after the blockage has been rinsed away.
Other common health ailments that you will want to be aware of when brooding your chicks include coccidiosis and Marek’s disease. Coccidia (coccidiosis) shows up in the form of bloody droppings. Marek’s disease is a much sneakier disease and can show up in the form of paralysis or sudden death.
Also be on the lookout for environmental issues, such as smothering, feather picking, or toe balls. Smothering occurs when the chicks are too cold or get suddenly frightened. They will all gather in a corner of the brooder and pile on top of each other, smothering the chicks at the bottom of the pile. Feather picking can be from dietary deficiencies, boredom, or bullying. Toe balls are tiny balls of manure that stick to the toenails of baby chicks. They form when the brooder is not cleaned frequently enough.
Other external issues that you will want to be on the lookout for in baby chicks include:
- Crossbeak- the upper part of the beak crosses over the bottom part of the beak, also known as scissor beak
- Crooked toes- a toe or multiple toes are not straight and can hamper proper walking
- Splay leg- the legs of a baby chick go out at right angles to the body and make the chick look like it is doing the splits
- Wry neck- a chick holds it head constantly at an angle
- Clubbed toes- the toes constantly curl under the foot and make for difficult walking
- Stargazing- a chick has its head craned back over its back and looks like it is constantly looking at the sky
Some of these ailments have cures and others unfortunately do not. Being aware of these ailments gives you a better chance of catching them in time to help your baby chicks.

#8. Introducing Treats & Outdoor Forays
Create some fun bonding time with your chicks by introducing special treats or outdoor excursions. Both of these things can be introduced when your chicks are only a day old! Mother hen would be taking her brood out to explore the world as soon as everyone is hatched, so you can too. However, as the acting substitute for mother hen, you have to consider a few things before introducing your chicks to something new.
Healthy treats for chickens like insects can be introduced to your chicks after they have learned where to find food, water, and heat. Your chicks should be freely eating and drinking before you add something new to their diet. When you first introduce a new food to your chicks, sprinkle it on the floor of the brooder and pretend to peck at it with your finger. Your chicks will soon become curious and check out the new food. Pretty soon, snack time will be a feeding frenzy when you give them their favorite snacks! Plus, once your flock grows up, they will follow you anywhere for their snacks...like safely back into the coop after free ranging.
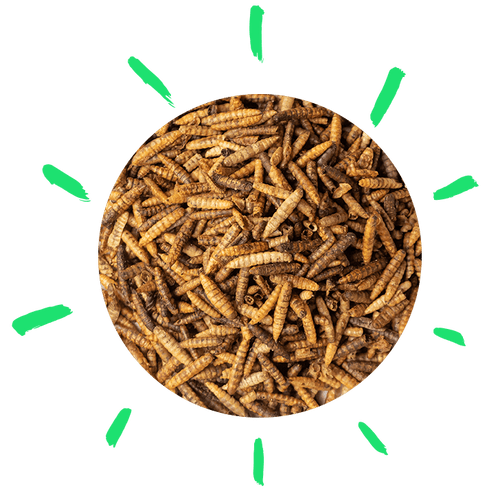
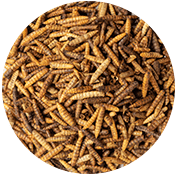
Some healthy snacks to give your chicks include oats, a pinch of Grubblies, and clean dirt/weed clumps. Simply crush the dried grubs or oats between your fingers so it’s easier for them to peck. When introducing a healthy snack, be sure to also give your little ones access to chick grit to aid digestion.
Taking your chicks outside for the first time is always an exciting experience for both you and the chicks! If the weather allows, you can bring your chicks outside as soon as they have adjusted to their new home. When the chicks are still young, you will want to consider the outdoor temperatures and conditions.
Warm, sunny days with no wind are ideal for short forays outdoors. These field trips may only last a few minutes at first, but they can be fun-filled adventurous minutes as your chicks realize the opportunities of foraging and running around in the grass! Always bring your chicks back to their brooder before they show signs of getting chilled. As the chicks grow, the outside field trips can last longer and more fun can be had! Always keep in mind the health and safety of your chicks when you bring them outside. Make sure they are protected, stay warm enough, and are not near anything that could be hazardous for them. Outdoor adventures should be both fun and safe for your little ones to explore.

Raise those Baby Chicks Right!
Phew! That was quite a crash course! From setting up the brooder to taking them on their first foray outside, caring for chicks can be challenging work, but it’s a lot of fun! Remember, mimicking mama hen and natural circumstances should always be at the front of your mind when brooding baby chicks. The more naturally your chicks are raised, the more success you will have at raising your brood! Cleanliness is priority for preventing disease and ailments, and ensuring a proper diet is equally important for proper growth and development. Have fun and prepare for your fluffy ones to immediately steal your heart!
