A brooder functions as the ultimate safe haven for your baby chicks. It’s a warm, secure spot where they have all their daily needs met in order to grow into healthy and happy adult chickens! Knowing how to properly set up a brooder is an essential skill to learn before you get your chicks. Everything about the brooder should be designed to ensure maximum chick health and well-being. This includes how the brooder is constructed, how it is arranged, and most importantly, how the heat source can be controlled. Proper brooder set up will ensure your chicks stay warm, healthy, and happy, so let’s go through each step one by one!
Brooder Materials
When choosing a brooder construction material, your priority is the safety of the chicks. All good brooders should have the following components:
- Good ventilation- allows old, stale air to be replaced with fresh, oxygen laden air
- Free of drafts- drafts will cause stress for the chicks and will chill them
- Keeps the chicks safe- it’s a good idea to have a lid on the brooder to keep the baby chicks in and any dangers out (such as other family pets)
- Sturdy- the brooder should not be able to be tipped over, collapsed, or damaged in any other way
- Minimal tight corners- these can be a hazard if the chicks pile up in a corner, which could suffocate any chicks at the bottom of the pile
While plastic storage totes, small plastic pools, and other boxes will work, some of the best brooders include galvanized stock tanks and octagon brooders. These types of brooders have rounded edges, are sturdy, and can be covered to keep the chicks safe. Of course, you can make your own brooder out of wood or other materials that you have access to, just ensure that the safety of the chicks is always top of mind.
You’ll thank yourself later if you choose a brooder that’s easy to clean and maintain. The brooder should be cleaned on a daily basis as well as thoroughly cleaned after you are done using it for raising chicks. Brooders that are easy to clean can be re-used year after year!
Litter Choices
Litter is the substrate that you put on the bottom of the brooder. It functions as ground insulation, droppings management, and sturdy footing for newly hatched chicks. Litter type should be age-appropriate for the chicks. Chicks that you hatch at home or chicks that have been mail ordered benefit from a simple, soft litter for the first few days of their life in their new home. Paper towel works great as a brooder litter for chicks who are only 1-2 days old.
When using paper towels, place on the bottom of the brooder in a thick layer. You can also put old blankets or towels underneath the paper towel to further insulate the ground and make it soft. However, you want the ground to be fairly level and easy for chicks to walk on as they learn to use their legs and become stronger. Paper towel also makes it easier for you teach the chicks where to find food and water since it does not provide any distracting elements. To clean paper towel litter, you simply fold up a layer from the brooder floor that has been soiled and replace it with a fresh layer of clean paper towel.
As the chicks grow, you will quickly realize that paper towels are not a long-term solution as they require a lot of involvement to keep clean. That’s when you switch to hemp bedding! Chicks who are 3-4 days or older can have hemp bedding as a brooder litter. They will be strong enough and sturdy on their feet and should already be acquainted with what food and water looks like.
Hemp bedding functions as a great brooder litter from here on out. It is absorbent to help manage droppings and they are soft and cushy enough to serve as a cozy brooder litter.
Once you have hemp bedding as the litter, daily cleaning gets a lot simpler. You simply stir in the droppings, remove any wet clumps of bedding, and add more as necessary. Any bedding you use can only handle so much abuse though, so the entire brooder litter will need to be cleaned out every week or two to prevent ammonia fumes from becoming a hazard. A clean brooder is essential to raising healthy chicks!
Heat Source
Now that you have the brooder decked out with the proper flooring, it is time to consider one of the most important environmental factors in your chicks’ new home: heat. Baby chicks cannot regulate their own body temperature for the first few days of their life. Chicks only have a fluffy layer of soft downy feathers, which won’t help insulate their bodies against the cold or help them maintain a proper body temperature. Ensuring you have the right heat source in the brooder is essential for healthy chicks!
There are two common supplemental heat sources: a heat lamp or a radiant heater. Let’s review the pros and cons of each heat source:
Heat Lamps
Pros:
- Effective at providing direct heat as well as warming the air within the brooder
- Less expensive
- Chicks tend to grow faster with this method
Cons:
- Can make it harder to control brooder temperature according to the chicks’ needs
- Present a fire hazard due to the volume of heat exposed as well as inadequate ways to secure the hot lamp
- Use more electricity
- Can make it harder to wean chicks off supplemental heat
Radiant Heaters
Pros:
- Mimic a mother hen and provide a more natural source of getting warm
- Do not present any fire hazard
- Allows the chicks free-choice heat, which makes it easier for the chicks to control their own heat needs
- Often prevents health issues such as underdevelopment due to fast growth and pasty butt due to temperature stress
- Allows the chicks to establish a natural sleep pattern without having a lit brooder all the time
Cons:
- Does not heat the air within the brooder, so they can only be used when the brooder air temperature can stay above 55-60°F
- More expensive compared to heat lamps
Most would agree that a radiant heater is the best kind of heat source to set up with your brooder. It eliminates any risk of fire hazards and makes for healthier chicks. While a heat lamp can still be used, extreme care must be taken, and you must closely monitor your chicks to ensure they are not getting overheated or chilled.
When using either heat source, you must consider the placement of the heat source within the brooder. For small brooders, you want the heat source to be concentrated at one end of the brooder, that way the other end of the brooder can be used for escaping the heat when needed. For large brooders, you can have the heat source at the center of the brooder while still having less-heated areas all around the edges of the brooder.
When using a radiant heater, you want to place it so that the chicks can go in and out either side of the radiant heater. Do not place the radiant heater in a corner where the chicks could trap each other under the heater.
Food & Water

The most common food and water systems for baby chicks are plastic feeder and water founts, and even these come in assorted styles. You can get ones that sit on the floor of the brooder or ones that can be hung in the brooder. Other systems of providing food and water for baby chicks include DIY feeders, nipple water systems, and trough feeders. When choosing or making a feed and water system for the brooder, keep these three things in mind:
- Feeder and water system should be easy for all the chicks to access all at the same time
- Systems should be easy to keep clean and prevent any droppings from contaminating the contents
- Any open water sources should be shallow and should prevent chicks from accidentally getting stuck in the water and getting chilled or drowning
Chicks grow quickly, so it is important that the feed and water systems are able to grow with the chicks! As the chicks get taller, their food and water will need to be raised to encourage proper eating and drinking habits as well as for ease of keeping the contents free of dirty litter and droppings. Also, the feeder and water system will need to be able to hold more food and water to support the growing needs of the chicks.
Consider carefully the placement of the feed and water systems within the brooder. Ideally, the food and water should be within close proximity to each other and away from the heat source. For the first few days of the chicks’ life, you can place the food and water on the fringes of the heated area of the brooder. After the chicks know where to find food and water, it’s best that you move the food and water to the area of the brooder that is away from the heat source. This encourages the chicks to leave their heat source, which stimulates proper growth and development.
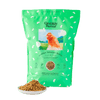
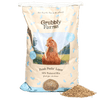
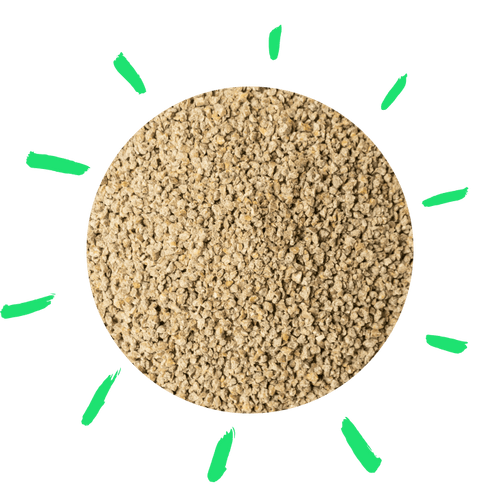
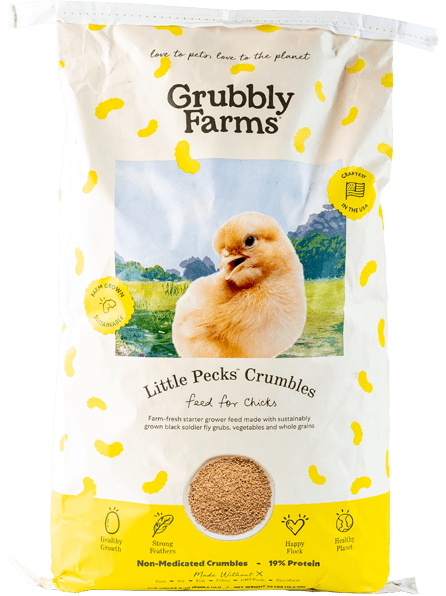
Need help choosing a feed? Consider Grubbly Farm's own Starter Grower Feed. It's a naturally balanced complete chick feed featuring grubs and plants, which means your chick will be eating just as nature intended. Since it's also a "grower" feed, you can continue to feed your chicks this up until adulthood at about 20 weeks.
Supplements
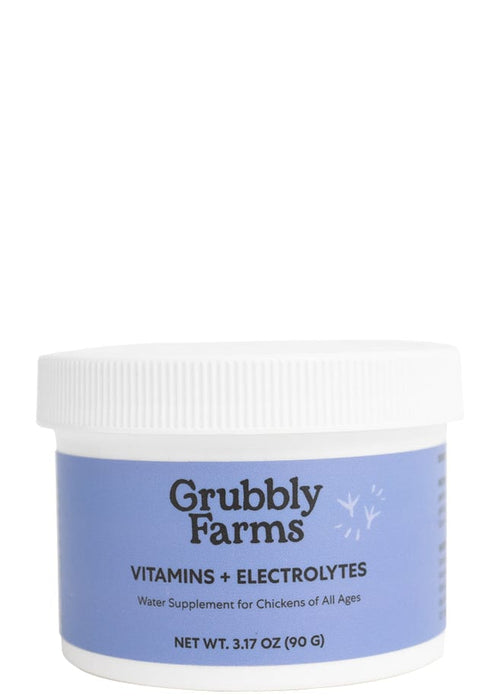
With your chicks most important needs met, you might want to consider giving them an additional healthy supplement. Grubblies, garlic, herbs, probiotics, vitamin supplements and even weed clumps, are all beneficial additions to a chick’s diet that can help it stay healthy and mimic a more natural environment for the chick. Having a designated area where you place the natural supplements will teach the chicks that they can find yummy, free-choice treats in that location.
Generally, a shallow pan, plate, or plastic lid works well as a chick supplement dispenser. The shallow surface contains the supplements while still allowing the chicks to access the supplements. You will only want to introduce a supplement spot after the chicks have found where their food and water source is located. You always want your chicks eating and drinking properly before introducing new elements into their environment. It is a good idea to keep it near the food and water sources so that it's as if you are adding another option for your chicks to explore. The placement of the supplements near the food and water ensures that the chicks don’t have to pick priorities in regards to how close things are to the heat source. If the supplements are closer to the heat source than the food, then the chicks may consume more supplements than food, which is not good for their health.
You also want the supplement source to be easy to remove from the brooder. The chicks should generally not always have access to the supplement source.
Happy Brooder, Happy Chicks
There you have it, your brooder is all set up properly and is awaiting its new arrivals! The brooder is safe and draft free, soft litter lines the bottom, the heat source is in its proper place, and the food and water systems are all set and located away from the heat source. Your chicks will appreciate having a warm, cozy environment all set up for them. Ensuring the three main needs of a baby chick are met (heat, food, and water) will keep stress levels to a minimum and lead to healthy, happy chicks!
